🌐 Also available in: 🇫🇷 Français
Original source: Ride-Along Sessions with Cookie!
This video from Ride-Along Sessions with Cookie! covered a lot of ground. Streamed.News selected 5 key moments and summarises them here. Everything below links directly to the timestamp in the original video.
That tiny gap at your clew might be the difference between a smooth jibe and a sticky one. Your sail's design dictates the optimal setting, and it's not the same for every discipline.
Sail-Specific Outhaul Tuning: Leave 1cm Gap for Race Sails, Cinch Freestyle Sails Tight
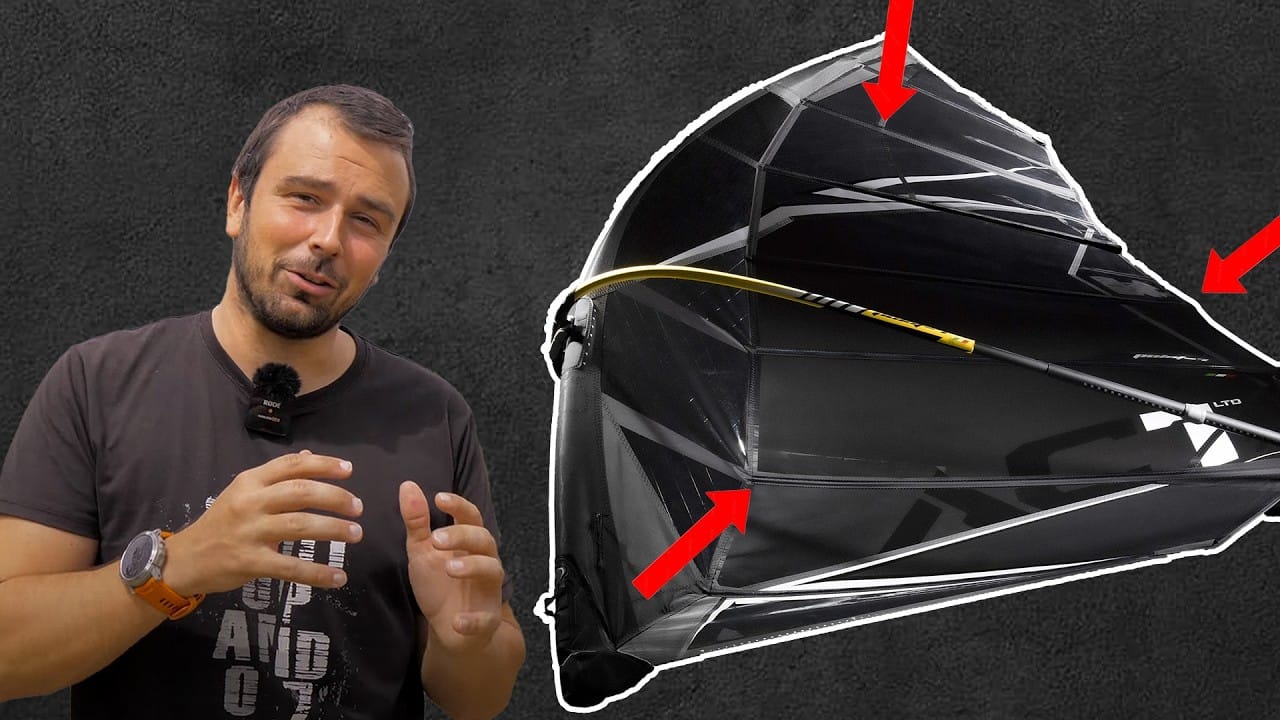
Outhaul tension at the clew should be set differently depending on sail type to maximize performance. For freestyle or wave sails, such as the Point-7 Slash or Spy, the outhaul should be pulled tight against the cleat with no gap. This method prevents any unwanted movement at the back of the sail, which can create an unstable or wobbly feeling through the boom.
In contrast, sails with crossed battens, typical of free-race designs like the Point-7 Rush or AC series, require a small gap of about one centimetre. This is not simply a matter of preference; it is a mechanical necessity. The space allows the sail profile to breathe and ensures the battens can pop smoothly and efficiently from one side to the other during tacks and jibes.
"On a freestyle or a wave sail, I pull my outhaul close so there is no gap. As soon as I go into a sail with a crossed batten, I leave just a centimeter gap so the battens can pop."
📊 Technical data
Equipment: Freestyle/wave sails (Point-7 Slash, Spy) · Free-race sails with crossed battens (Point-7 Rush, AC12, AC0)
Training: Outhaul at clew: no gap for freestyle/wave sails · Outhaul at clew: 1 cm gap for race sails · Downhaul adjustment: +/- 2-4 cm from recommendation based on power
An 8cm Outhaul Adjustment: How One Control Transforms Sail Performance in Overpowered Conditions
The outhaul is a primary tool for managing power, with small changes yielding significant effects on a sail's feel and performance. Pulling on more outhaul flattens the sail's profile, which reduces power and makes it easier to sail upwind. Conversely, releasing the outhaul adds belly and shape, increasing drive for more power and downwind speed. The speaker demonstrated the massive range of this control by adjusting the outhaul on a 6.7m Rush sail by 8 cm over the course of a single, overpowered session.
What this amounts to is that the outhaul is a dynamic, in-session tuning instrument, not a static setting. While adjustable outhaul systems are most common on race and slalom sails, the principle applies to all gear. Even on freeride equipment, adjusting the outhaul based on conditions can be the key to maintaining control and performance when the wind increases unexpectedly.
"Through the course of the hour I was out there for, I adjusted the outhaul setting 8 cm. All sails can be massively changed by adjusting your outhaul setting."
📊 Technical data
Equipment: 6.7m Point-7 Rush sail · Point-7 AC1, AC2 sails · Wave booms · Freeride, free-slalom, free-race sails
Metrics: Rider on 6.7m sail while others were on 4.0m and 4.5m sails
Training: 8 cm outhaul adjustment during one session
Boom Height as a Tactical Choice: High for Planing, Low for Maneuvers
Optimal boom height is not a fixed measurement but a tactical variable adjusted according to the session's goal. For early planing and efficient acceleration, a higher boom—from chin to eye level—is necessary to drive power from the sail down into the board. In contrast, for maneuvers like jibes or freestyle, lowering the boom to shoulder or chest height makes the rig more agile and easier to handle. Beginners often start with a low boom for stability, but this position inhibits planing performance as skill progresses.
The reality is that changing boom height has a direct and significant effect on outhaul tension. Raising the boom slackens the outhaul, adding power, while lowering it tightens the outhaul and flattens the sail. This interconnectedness means adjusting one often requires retuning the other, or it can be used intentionally for quick, minor power adjustments on the water.
"If you're trying to get planing, get that boom up nice and high. If you're trying to improve your jibes, bring the boom down a little bit to make it a bit more maneuverable."
📊 Technical data
Training: Boom height for beginners: chest height · Boom height for planing/acceleration: chin/nose/eye height · Boom height for maneuvers (jibes, freestyle): shoulder/high-chest height · Boom height for large sails/boards: forehead height
The Case for a Kids' Uphaul: A Pro Tip for a Tighter, More Controlled Rig
The decision to use an uphaul involves a tradeoff between practicality and marginal performance gains. While some elite Point-7 team riders found they could gain approximately one knot of speed by removing the uphaul and its associated wind resistance, the speaker advises that for most riders, having an uphaul is essential. The challenge, then, is to minimize its drawbacks, particularly the way a loose uphaul can flap or get in the way of maneuvers.
The recommended solution is to use a kids' or junior uphaul. Its shorter length keeps it taut against the mast, eliminating distracting flutter without sacrificing the necessary elasticity for use. This is not simply about having an uphaul, but about selecting one that is tight, small, and unobtrusive to maintain a clean and efficient rig.
"Some of the elite Point-7 guys tested, you can gain about a knot speed faster if you don't have an uphaul. This is actually a kids' uphaul. I don't want a big flappy loose uphaul. I want something tight."
📊 Technical data
Equipment: Point-7 equipment · Kids'/junior uphaul
Metrics: Potential ~1 knot speed gain by removing uphaul
Setting Up Adjustable Harness Lines: Back-Hand Placement Is Key for On-the-Fly Tuning
Using adjustable harness lines is critical for adapting to different sails, conditions, and tuning preferences. To enable safe, on-the-water adjustments, the adjustment buckle must be positioned on the rider's back hand. This configuration allows the rider to depower the sail slightly with their back hand while making length changes, avoiding the need to release the front hand and risk a catapult.
The reality is that any position set on the beach will likely need refinement once under sail. Therefore, when rigging, harness lines should be attached loosely enough that they can be moved along the boom with a firm wiggle. This initial looseness is not a setup flaw; it is a prerequisite for making the small, crucial adjustments to line position that optimize stance and trim during a session.
"The adjustable piece always goes on your back hand, meaning you can effectively lose power a little bit while you adjust your line whilst riding without having to let go of the front hand and risk that catapult."
📊 Technical data
Equipment: Point-7 Vario system harness lines (28-34)
Training: Speaker height: 175cm · Preferred harness line length: 30-32
Also mentioned in this video
- Demonstrating the setup of the outhole line by feeding it through the eyelet… (5:02)
- Addressing a minor negative of the short uphole, noting it cannot be easily… (6:32)
Summarised from Ride-Along Sessions with Cookie! · 14:58. All credit belongs to the original creators. Streamed.News summarises publicly available video content.